What is spray plaster?
We speak to many people about spray plaster, and the most common reply is, “What? You can spray plaster?” Most people in this country (UK) have never heard of spray plaster. Once you explain it to them, you get a wide-eyed realisation that this could be the future and money could be made.
Spray plaster is a different product to Gypsum multi finish. It is more like a filler than a plaster, and it is designed to be sprayed through an airless sprayer. It is applied very quickly, and the finish is a perfect level 5 finish.
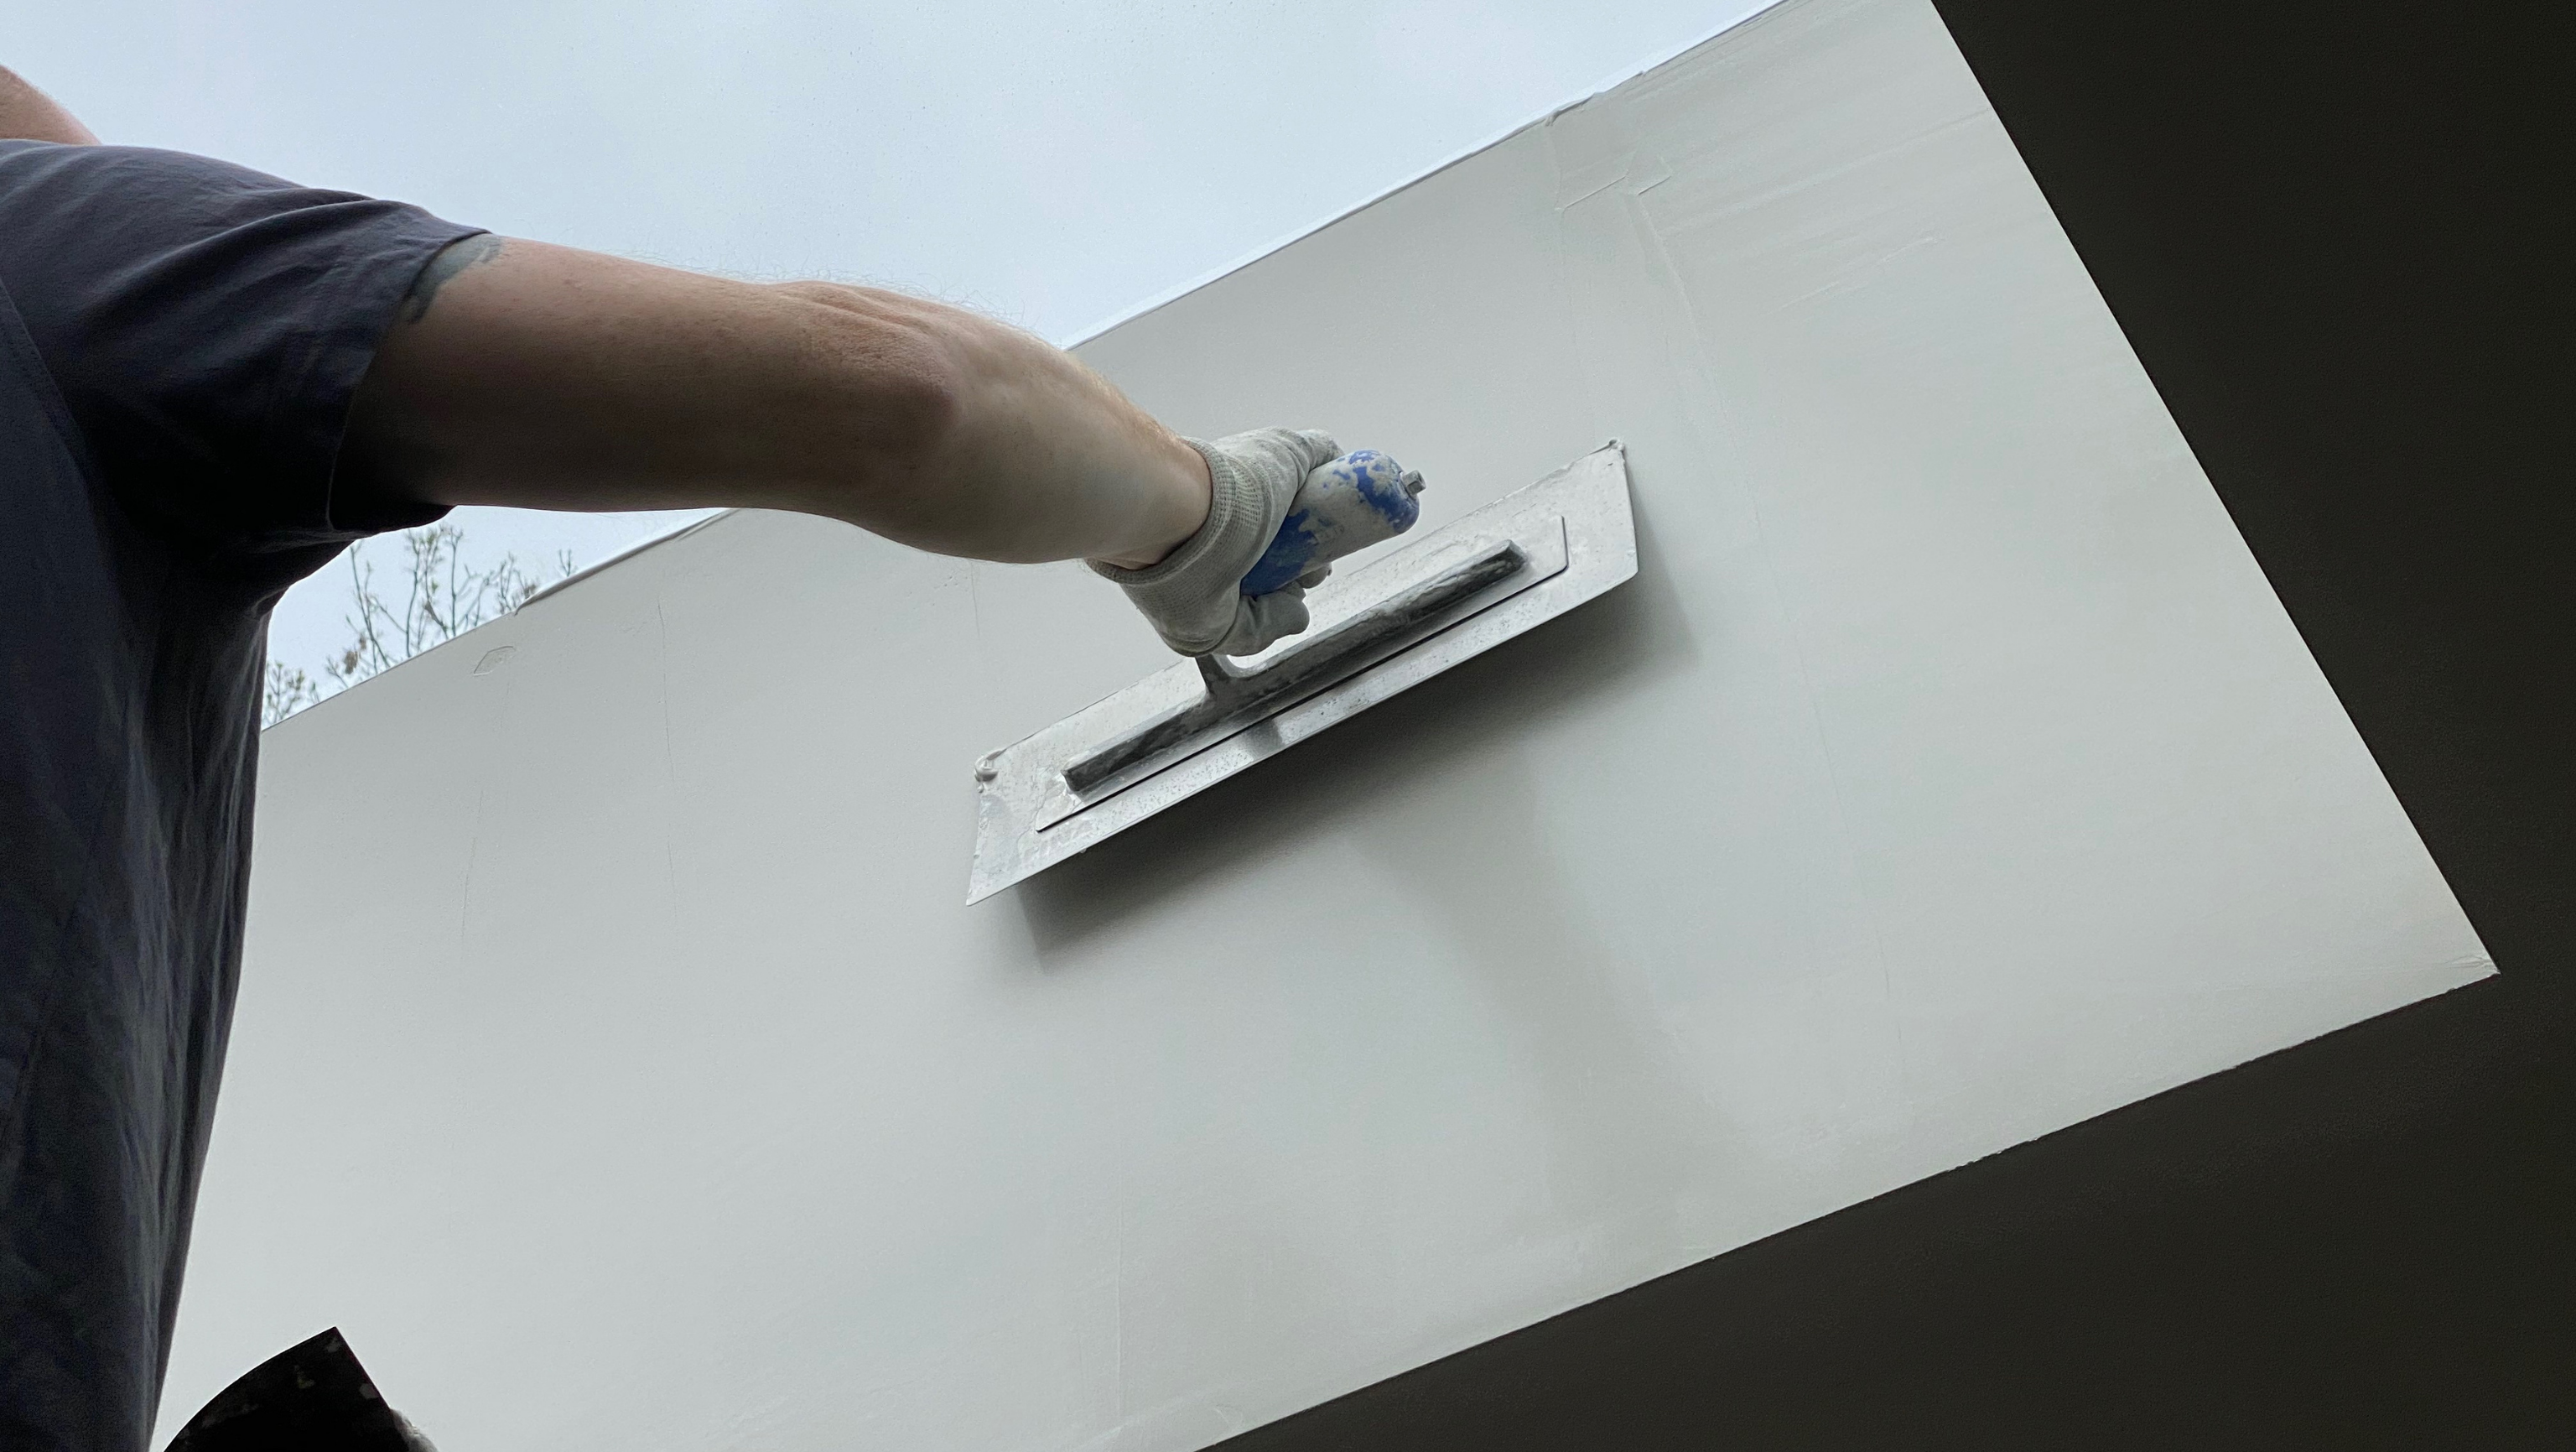
The process is straightforward. Once the surface is prepared, the spray plaster is sprayed with a plaster spray gun onto the surface to give a nice even coating. It is then smoothed off with either a trowel or a spatula, depending on which you are most comfortable. We find that plasterers prefer a trowel, and decorators prefer a spatula.
Once the first coat has dried, a second coat is applied and smoothed. If you are very good with the trowel, this is completed; however, if you are getting up to speed and still learning the process, the wall can be sanded once dry to remove any trowel marks. The product is designed to be sanded, and if you use a dustless sander such as a Mirka Leros, the process is fast, and you are left with a level 5 finish.
What is a spray plaster machine?
To plaster with an airless sprayer, you need a big machine. The market leader at the moment is the Graco Mark V. When you buy a Mark V, and it comes with everything that you need to spray plaster, you get the pump, the large hose, the plaster spray gun and the large tips.
The Mark V is designed to pump heavy materials, and the suction tube can be lowered into a bucket of spray plaster to feed the sprayer. However, if you are spraying a large area (1000 square metres), this is not the best way to feed that sprayer with the material.
You can buy a large hopper and bag roller. This allows you to use the bagged spray plaster, which is ready mixed to the correct consistency and put it through the bag roller to squeeze the contents into the large hopper.
This means that there is no wastage, and the bag is completely emptied. The hopper can be filled, and then the sprayer can run all day applying the material to the wall without the need to keep filling it up.
Download Now – Find Out How To Access Funding For Training – Get £5,000 Free Funding [FREE DOWNLOAD]
How to use a spray plaster machine
The spray plaster machine is an airless sprayer, and it works exactly the same as it would if you were spraying paint. If you are an experienced sprayer and have used an airless sprayer to spray paint, you will understand how to use the machine.
If you have never used an airless sprayer, we will look at how to use the machine. The first step would be to connect the hopper to the sprayer and ensure that the seal is tight. Then put the plaster material into the hopper. Switch the sprayer to prime and then switch it on.
Turn the pressure up slowly, and this will start to pump the plaster and then return it back into the hopper via the return tube. Once the pump is primed, you can switch the sprayer to spray.
Pull the trigger on the plaster spray gun so that the pressure cannot build up and turn the pressure up so that the water from the hose starts to come out of the gun. The plaster material makes its way through the hose until it reaches the plaster spray gun. Once this happens, the machine is ready to plaster.
Screw the tip guard onto the end of the splaster pray gun and add a spray plaster tip. This needs to be either a 531 or a 535. Spray as a test pattern to make sure that the sprayer is working correctly. You should get a nice 10″ band of spray plaster.
What does it look like?

Outline a checklist of steps using a spray plaster machine.
Step 1. Attach the hopper and bag roller to the airless sprayer.
Step 2. Empty enough bags of spray plaster into the hopper to complete the work that you are about to carry out.
Step 3. Prime the sprayer.
Step 4. Once primed, turn to spray.
Step 5. Run the water out of the hose until you get spray plaster.
Step 6. Add the tip guard and tip and spray a test pattern with the spray plaster gun to ensure the machine is working correctly.
Step 7. Start spray plastering.