Learning how to spray is undoubtedly one of the best strategies to enhance our decorating business in 2024. However, with every new innovation and system, there will always be a learning curve. Whether you haven’t got the best set up or consider yourself trained after watching YouTube videos, (yes we know you exist) don’t think it’s the end, or spraying doesn’t work. Spraying incorrectly is an opportunity for improvement rather than needing to throw your sprayer in the skip. Ongoing training is the key to overcoming any challenges. But, how do you recognise the need for training?
In this blog, we explore the top 5 spraying mistakes and highlight the positive steps you can take to enhance your skills and knowledge, ensuring you stay on top of your game.
-
Overspray
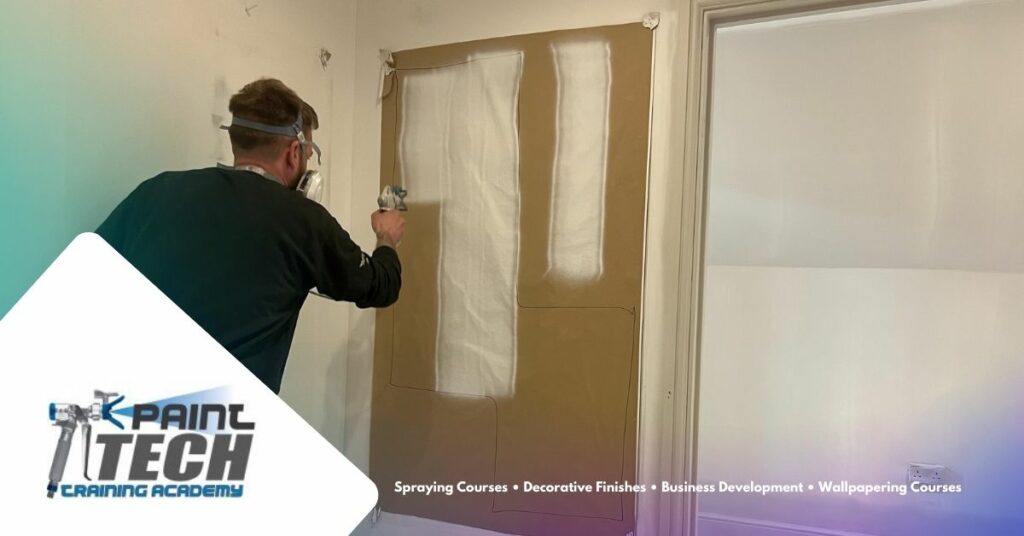
One of the most common and easily fixable spraying mistakes is overspray. While we always recommend taking a PaintTech course obviously to learn the correct methods, overspray can be addressed by ensuring you are not too far away from the object or wall you are spraying. These guns have a lot of power and there’s a tendency for untrained sprayers to stand back and get as much coverage as possible, but the optimal distance typically falls between 8” and 12”, depending on the setup and the desired look.
Getting the right spraying experience
As you gain experience, you’ll develop an intuitive sense of the right distance, but in the meantime, you can use a practical technique. Consider placing a strip of tape on the floor, positioned 8” to 12” away from the wall, to serve as a guide for your spraying distance. You’ll be able to set the right distances from a quick test shot.
This simple measure can make a significant difference in avoiding this simple one of many spraying mistakes and achieving a clean and professional finish.
-
Too close
On the flip side, one of the other common spraying mistakes we see is being too close. This is when you’re closer to the surface than 8”, so too much paint is applied, leading to runs and an uneven coating. When the spray gun is held too close to the surface, the paint is delivered in excess, overwhelming the surface’s capacity to absorb or adhere to the coating. While standing too far back can be fixed by reapplying paint properly, standing too close creates visible streaks, drips, and uneven textures, compromising the overall quality of the paint job and making it harder to fix. It also results in extended drying time.
Remember to spray at the right distance from the surface, like we said above and be ideally 8” to 12” from the surface.
-
Arching the Gun
You have the right distance set between 8” to 12” away from the surface, but you’re getting an hourglass look with your spray pattern, caused by standing in one place and just moving your arm up and down. We call this arching the gun, where you’re staying still and not moving your shoulder or wrist forwards or backwards to remain the same distance from the surface from top to bottom of the pass. This causes more overspray and less coverage at the start and finish compared to the middle.
Flawless finish
As we alluded to, the key to a flawless finish lies not only in maintaining the correct distance but also in ensuring consistent movement across the surface. Don’t be lazy; avoid the temptation to stay in one spot. Consistently keep the tip 8” to 12” away from the wall to get the best result and avoid spraying mistakes.

-
Pressure settings
You’re at 8 inches, moving with the surface, doing everything right regarding our points above, but you’re still getting overspray. You’ve moved and covered your client’s furniture with protection, but you’re still close to covering it with paint or might even have done so already. You can’t figure out why.
Setting the pressure too high
Another spraying mistake we often find inexperienced decorators making is having the pressure setting too high or at maximum pressure.’ If you’re experiencing this issue, note that at 3300 psi, the paint will literally bounce off the surfaces, causing a significant amount of overspray. It’s crucial to recognise that the appropriate pressure needed varies depending on the type of paint being used and what you are spraying. For emulsion, a typical recommendation is around 1200-2000 psi for walls and 1400-2200 psi for ceilings. Adjusting the pressure to suit the specific paint type is essential for achieving optimal results. It’s not always a one-size-fits-all situation and attending a PaintTech course will give you the experience to know the right setting for different situations and outcomes.
We also have a great online course that goes into the right combination of product, tips and pressure to get the best results: https://painttechtrainingacademy.thinkific.com
Remember, finding the right balance in pressure is just as vital as maintaining the correct distance and consistent movement to ensure a flawless finish without falling prey to common spraying mistakes.
-
Moving the gun.
So you’re 8 inches away from the object or walls surface. You’re moving with the surface to avoid arching the gun and the pressure is set right. But what now? You’ve got a lack of courage in some areas and dripping paint in others. So far, you’ve been through two 10 litre tins of paint and it looks awful. This is where I say you need a course, spray painting is not as easy as watching a YouTube video and picking up a sprayer from a paint merchant on offer. Spraying mistakes will happen, even to the best of us, but knowing what do to will limit the number of mistakes made.
In this case, the problem comes by either moving the gun to slowly or quickly when spraying a surface. Adjusting the speed of your gun movement is crucial to achieving a successful spray painting application. Moving the gun too slowly can result in excessive paint being applied to the wall, leading to a waste of paint, as well as the potential for runs and curtains. On the other hand, moving the gun too quickly means not enough paint is applied, resulting in a poor finish and inadequate coverage.
The balance
You need to find the right balance in your gun movement speed to avoid spraying mistakes. The easiest way to do this is head on a PaintTech Training Academy Course and let our tutors watch how you spray, they can observe and tweak your technique depending on whether yu are person who naturally goes at 100 mile an hour or someone that just doesn’t like moving much. Sorry for the blatant plug once again, but it is our blog. Second to that is test, test and test some more. Test at home when you have some free time, and also always test onsite before committing paint to the actual surface.

The five steps to avoid the most common spraying mistakes.
Those five steps are just five of the most common spraying mistakes that new or untrained sprayers make when using a spraying machine. It’s essential to master all aspects of the spraying process and understand how each contributes significantly to achieving a flawless result. There is more to consider, such as overlaps, triggering on and off after each pass, and knowing your filters, which we will cover in another blog. But for now, we really wanted to highlight five things that you can adjust by simply modifying your movement or position relative to the wall.
Get the right knowledge
If you would like to know more, we always advise attending the academy for any of our many courses, from our Intensive Airless Course to our Furniture and Kitchen On-site Spraying Course. Most of our spray courses can be funded by CITB, making us the number one spray painting training academy within the UK to acquire the best skills and knowledge, enabling you to hit the ground running and make more money on decorating projects through spraying.